 ALKNETWORK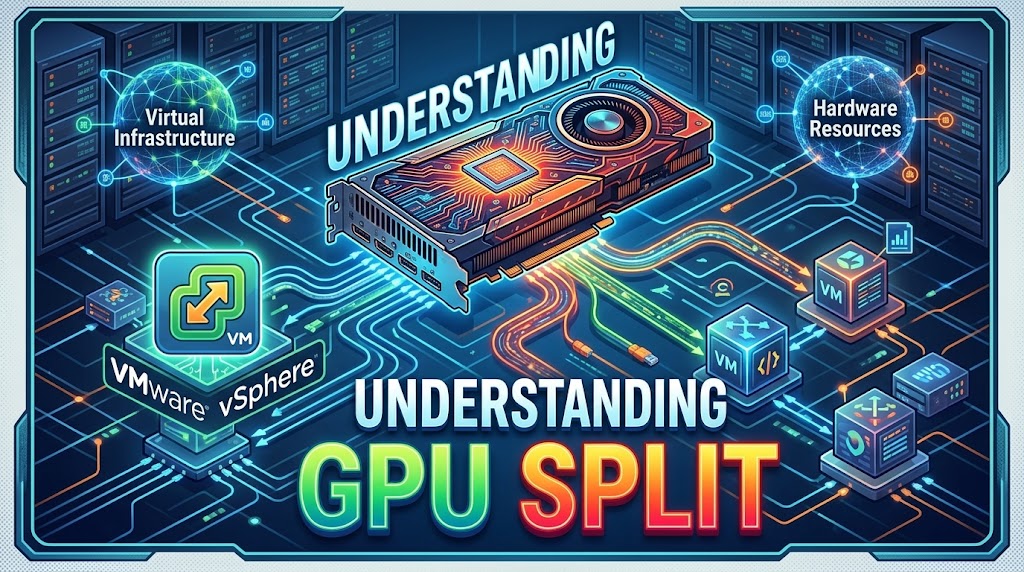
In VMware vSphere 8.x (ESXi/vCenter), GPU
Partitioning (specifically through NVIDIA vGPU technology) allows you
to “carve” a physical GPU into multiple virtual instances, enabling
high-density, cost-effective scaling.

1. The Methods of GPU Sharing
To understand partitioning, you must first distinguish it
from other VMware GPU methods:
|
Method |
Best
For |
Sharing? |
Performance |
|
DirectPath I/O |
Heavy AI Training |
No (1:1 mapping) |
100% (Bare Metal) |
|
vGPU
(Time-Slicing) |
VDI
& Mixed Workloads |
Yes
(Software Slices) |
~95% |
|
MIG (Multi-Instance GPU) |
Multi-tenant AI / Inference |
Yes (Hardware Isolation) |
100% per slice |
2. Core Technology: NVIDIA vGPU
Most “GPU Splitting” on VMware utilizes the NVIDIA
vGPU software. It operates by installing a manager (VIB) directly into
the ESXi hypervisor, which then acts as a traffic cop, distributing GPU cycles
to multiple VMs.
How it Splits: vGPU Profiles
When you assign a GPU to a VM in vCenter, you choose a Profile (e.g., grid_a100-4c).
- The
Number (4): Represents the amount of Frame Buffer (VRAM) in GB
allocated to that VM.
- The
Letter (C, Q, or B): Represents the workload type (C for
Compute/AI, Q for Quadro/Design, B for Business/VDI).
3. Advanced Splitting: MIG (Multi-Instance GPU)
For newer architectures (Ampere and later, like the A100 or
H100), NVIDIA introduced MIG. Unlike standard vGPU which uses
“time-slicing” (sharing the same cores over tiny fractions of a second), MIG
physically partitions the GPU hardware into isolated “instances.”
- Isolation: If
one VM crashes its GPU driver, it doesn’t affect other VMs on the same
physical card.
- Predictability: Each
partition has its own dedicated high-speed memory and compute cores.
4. Implementation Workflow
Configuring this in a VMware environment follows a specific
“Host-to-VM” path:
Step A: Host Preparation
- BIOS
Settings: Ensure SR-IOV and Above 4G
Decoding are enabled on your physical server.
- Install
the VIB: Download the NVIDIA vGPU Manager for ESXi. Upload the
file to host using WinsSCP. SSH to EXSi host and use the CLI to
install: esxcli software vib install -v /tmp/NVD-vGPU_ESXi_8.0.vib
- Host
Graphics Settings: In vCenter, navigate to Host >
Configure > Graphics. Set the “Default graphics type” to Shared
Direct.
Step B: VM Configuration
- Add
PCI Device: Edit VM settings and add a “New PCI Device.”
- Select
vGPU Profile: Select the NVIDIA GRID vGPU and choose your desired
slice (e.g., 2GB or 4GB).
- Reserve
Memory: vSphere requires you to “Reserve all guest memory” for
any VM using a vGPU.
5. New in 2026: vSphere 8 Update 3+ Enhancements
As of the latest updates in 2025 and early 2026, VMware has
significantly smoothed the “splitting” experience:
- Heterogeneous
Profiles: You can now run different sizes of vGPU profiles (e.g.,
a 2GB slice and an 8GB slice) on the same physical GPU, provided they are
the same series.
- GPU
Statistics in vCenter: You no longer need to jump into the ESXi
shell (nvidia-smi) to see utilization. vCenter now provides native GPU
performance charts.
- Live
Migration (vMotion): vGPU-enabled VMs can now be live-migrated
between hosts without dropping the session, a massive win for maintenance
windows.

Summary
GPU splitting via VMware ESXi transforms a static hardware
asset into a flexible cloud resource. By moving from Pass-through (one
user) to vGPU/MIG (many users), organizations can reduce
hardware costs by up to 60-80% while maintaining the
performance required for modern AI workloads.